Ledger.com/Start: Your Official Guide to Setting Up a Ledger Hardware Wallet
Ledger.com/Start is the official platform designed to help users securely set up their Ledger hardware wallets—such as the Ledger Nano S Plus, Nano X, and Stax—and begin managing digital assets with confidence. This step-by-step guide ensures a smooth and safe onboarding experience for both beginners and experienced crypto users.
Step 1: Unbox and Initialize Your Ledger Device
- Check the Package: Make sure your Ledger device arrives in a sealed package containing the device, USB cable, recovery phrase sheet, and instructions.
- Connect Your Device: Plug your Ledger wallet into your computer or mobile device using the supplied USB cable.
- Set Up a PIN Code: Power on the device and follow the prompts to create a secure 4-8 digit PIN. This PIN protects your wallet from unauthorized access.
- Write Down Your Recovery Phrase: The device will generate a unique 24-word recovery phrase. Carefully write this down on the provided sheet and store it in a safe, offline location. This phrase is crucial for recovering your assets if the device is lost or damaged.
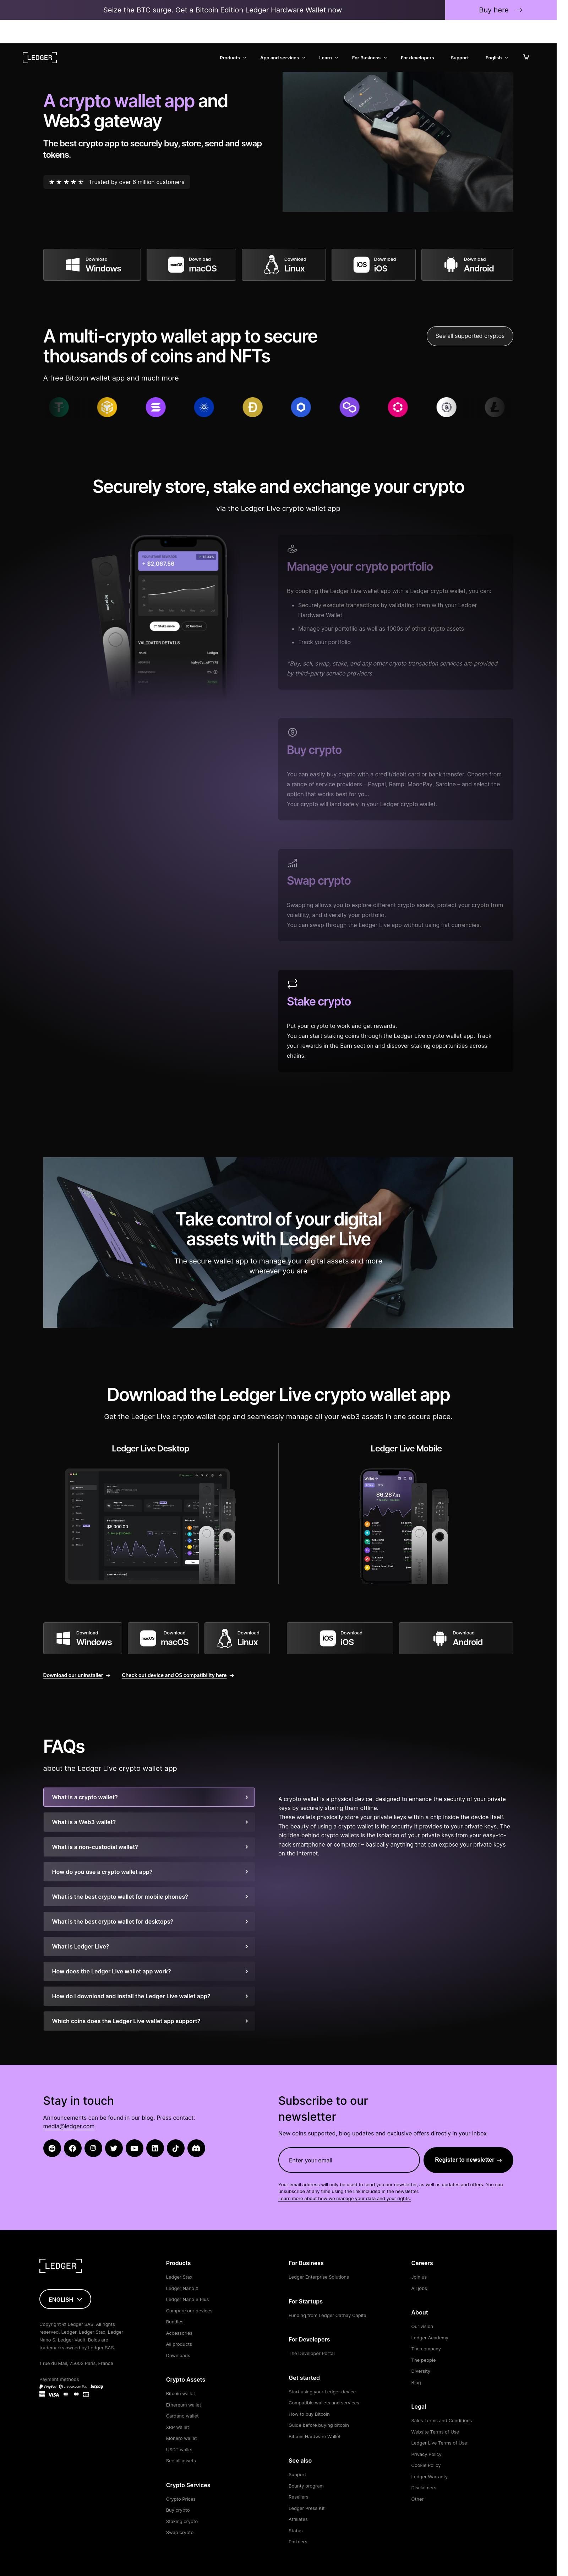
Step 2: Download and Install Ledger Live
- Get Ledger Live: Visit Ledger.com/Start to download Ledger Live, the official companion app for your hardware wallet. It’s available for Windows, macOS, Linux, iOS, and Android.
- Install the App: Follow the on-screen instructions to install Ledger Live on your computer or mobile device.
- Launch and Set Up: Open Ledger Live and select the option to set up a new device. The app will guide you through connecting your Ledger hardware wallet and verifying its authenticity.
Step 3: Secure and Configure Your Wallet
- Install Crypto Apps: Through Ledger Live, install applications for the cryptocurrencies you wish to manage, such as Bitcoin, Ethereum, or Solana.
- Add Accounts: Create accounts for each cryptocurrency to organize and manage your holdings.
- Enable Security Features: Activate additional security measures like password protection and, where available, two-factor authentication within Ledger Live for enhanced protection.
Step 4: Manage Your Crypto with Ledger Live
Ledger Live is your all-in-one platform for managing digital assets:
- Send & Receive Crypto: Easily transfer assets in and out of your wallet, with every transaction requiring physical confirmation on your Ledger device.
- Track Your Portfolio: Monitor your balances, view transaction history, and analyze your portfolio’s performance in real time.
- Buy, Swap, and Stake: Purchase cryptocurrencies directly in the app, swap between coins, and stake supported assets to earn rewards—all while keeping your private keys offline and secure.
Privacy and Advanced Security Features
- Manual Locking: Use the lock icon in Ledger Live to secure your session when stepping away.
- Discreet Mode: Hide sensitive information on your screen for added privacy.
- Advanced Options: Features like Coinjoin and Tor integration offer additional layers of privacy and transaction anonymization for advanced users.
Best Practices for Security
- Keep Firmware Updated: Regularly update your Ledger device’s firmware to protect against vulnerabilities.
- Store Recovery Phrase Securely: Never share your recovery phrase and keep it offline, away from digital threats.
- Beware of Phishing: Ledger will never ask for your recovery phrase or PIN. Always use official channels for support and downloads.
Why Use Ledger.com/Start?
- Official Setup Instructions: Ensures you’re following the most secure and up-to-date procedures.
- Authentic Downloads: Provides verified links to Ledger Live and other essential resources.
- Step-by-Step Guidance: Offers clear instructions and video tutorials for a seamless setup process.
By following the instructions at Ledger.com/Start, you can confidently set up your Ledger hardware wallet and begin managing your crypto assets with industry-leading security and ease.
Made in Typedream